Product details
Product description
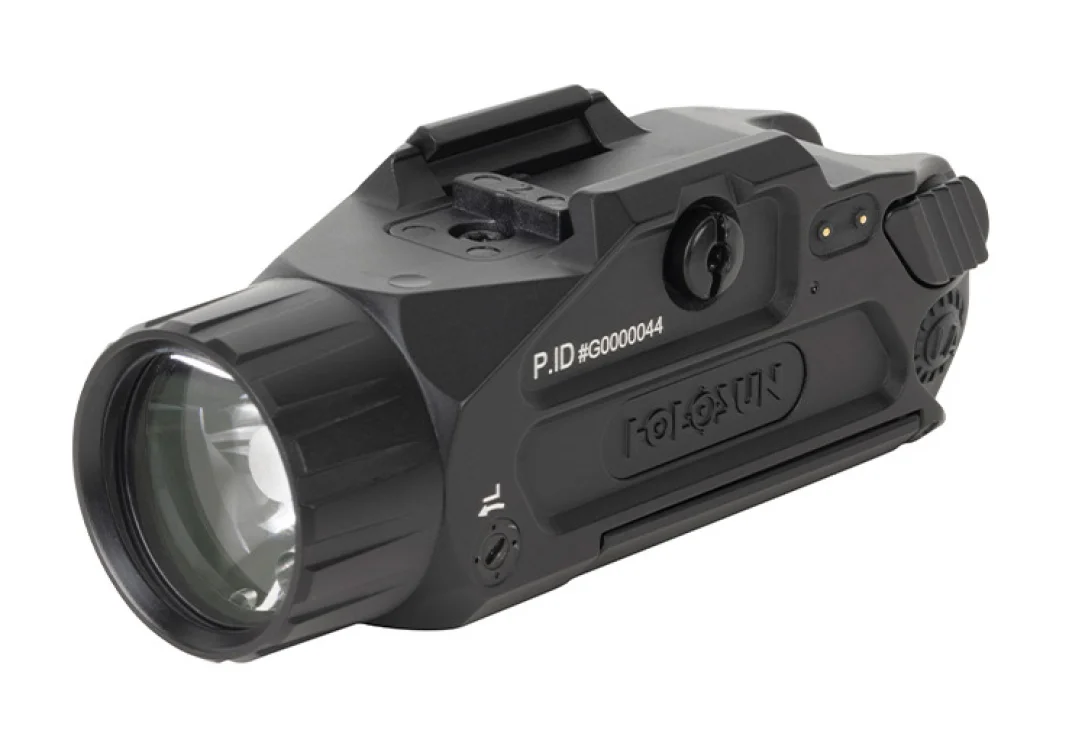
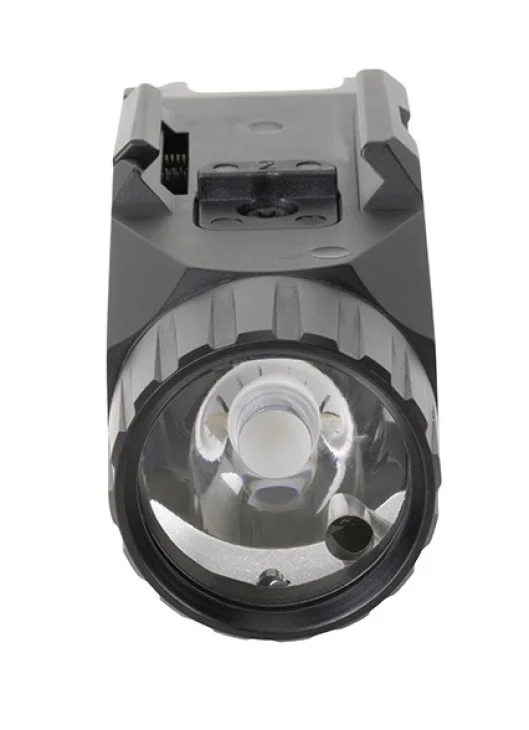
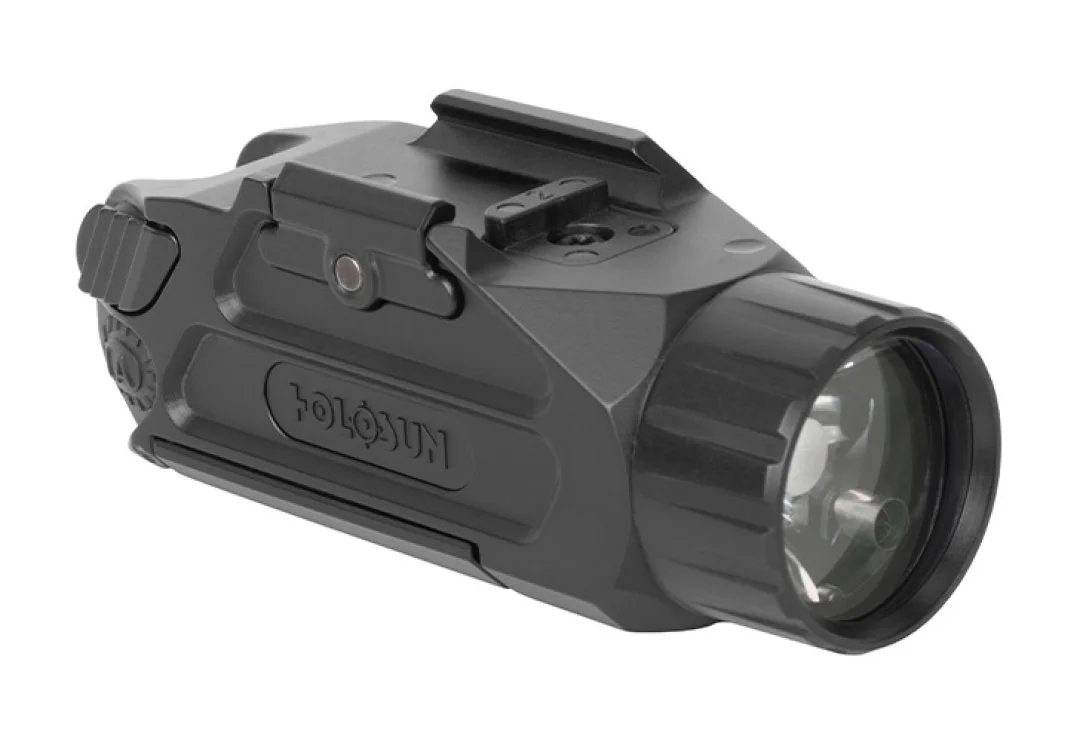
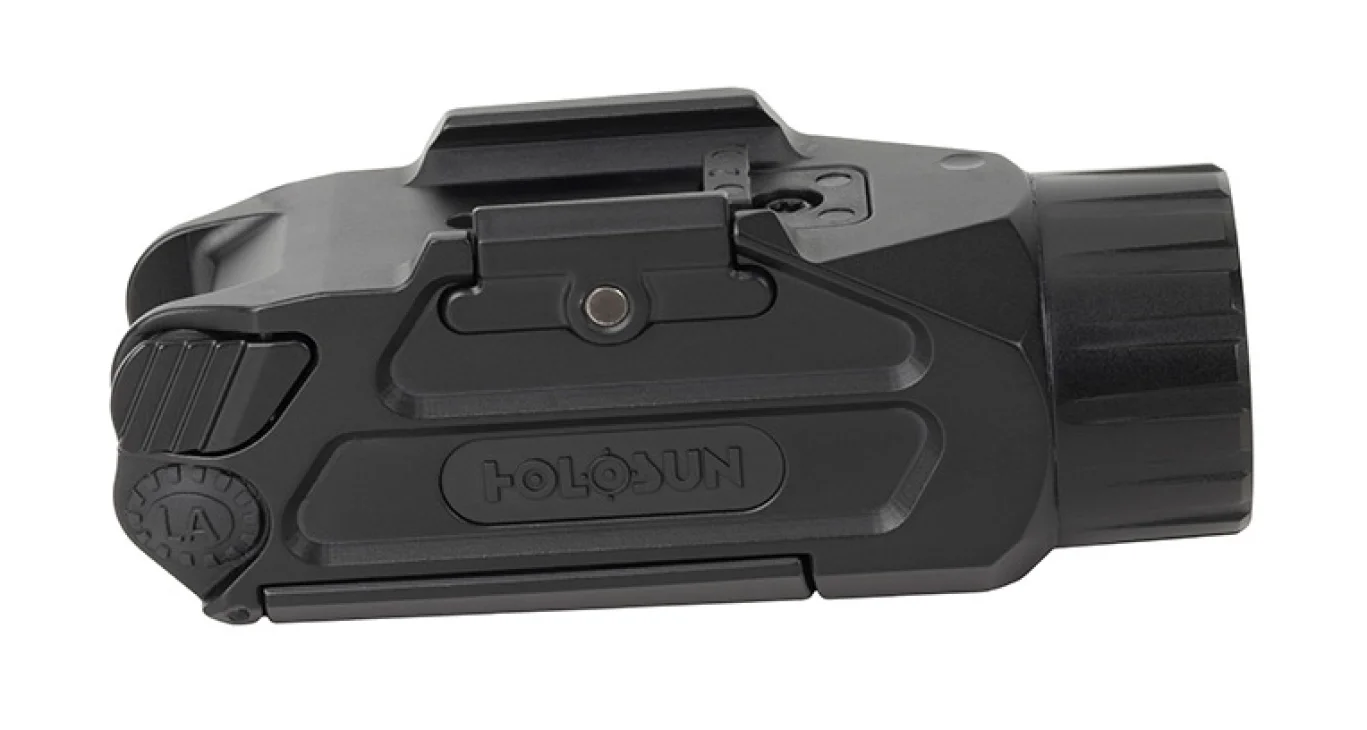
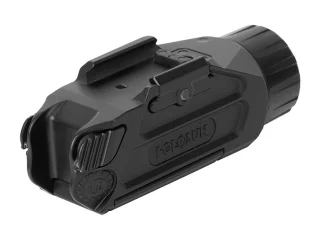
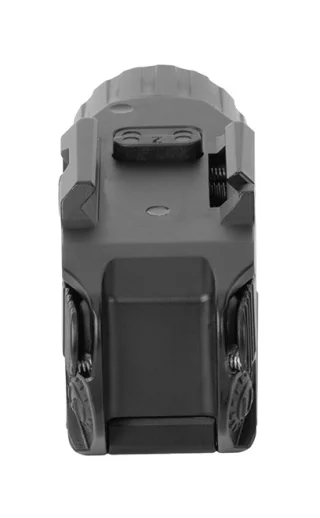
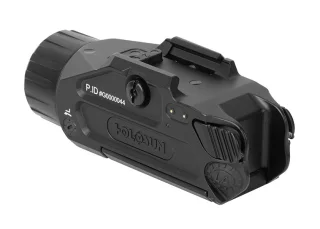
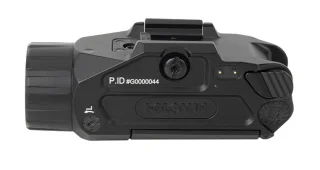
Need a powerful weapon light for your pistol? In addition to its 900 lumen light, the Holosun P.ID Plus features a green laser. The P.ID Plus fits many full-sized and slightly smaller handguns with a rail. This weapon light comes with a rechargeable battery, which can be charged via the connector on the flashlight body. The battery can also be replaced without removing the light from the firearm.
- Anodized 7075 T6 aluminum body
- 500-670 nm green laser, power <5 mW
- Ambidextrous switches for momentary or constant illumination
- Light and laser can be operated together or separately via buttons
- Rechargeable battery, recharging cable included
- Button lockout feature
Which holster does this fit in? The word is that Glock 17 with this flashlight would fit in Safariland's SureFire X300 or Streamlight TLR-1 compatible holsters, but we don’t have it tested yet. The best fit would probably be achieved with a Kydex holster custom-made for your specific gun-light combination.
Manufactured in China.
Reviews
There are no reviews for this product yet.
Store
Hankasuontie 11 A
00390 Helsinki
Mon-Fri 10:00-20:00
Sat 10:00-19:00
Sun 12:00-17:00
Exceptions to opening hours on the Store page.
00390 Helsinki
Mon-Fri 10:00-20:00
Sat 10:00-19:00
Sun 12:00-17:00
Exceptions to opening hours on the Store page.
Propaganda
Subscribe to our propaganda messages to stay informed! You'll get useful tips and tricks, funny stories on what we've been up to, and special offers straight to your inbox.
By subscribing you agree to the terms described in our Privacy Notice.
Contact us
Tel: +358 10 320 3813
[email protected]
Mon-Fri 08:00-20:00 EET
Sat 10:00-18:00 EET
Sun 10:00-18:00 EET
See all Contact Information.
[email protected]
Mon-Fri 08:00-20:00 EET
Sat 10:00-18:00 EET
Sun 10:00-18:00 EET
See all Contact Information.
Secure payment
Delivery methods
Copyright © 2024 Varusteleka Oy | Business ID 2082907-8 | EU VAT number FI20829078
